Expert advice that will put you head and shoulders above the rest
By Fawnia Mondey
(World’s first pole dancing instructor, IPDFA industry leader of the year 2014, Las Vegas top 100
women of influence 2014-2015)
When I began my career as an exotic dancer in 1994, I was inspired to learn pole work by
watching women perform some amazing moves. I asked the staff of the club where I worked for
the name of the nearest Exotic Dance School, thinking I should learn from the best.
There wasn’t one. These strippers were self-taught. I couldn’t believe there wasn’t somewhere I
could go to learn how to work the pole, walk, dance or crawl—the kinds of moves that make a
great exotic dancer.
So just two months after I learned my first move, “The Fireman,” I purchased my own brass pole
and started teaching other dancers. I soon opened the world’s first Exotic Dance School and
produced an instructional DVD, Pole Work, Volume 1— the first of its kind.
Now as a pioneer of what’s become America’s latest fitness craze—pole dancing—I teach
women around the world “The Art of Pole Dancing” at my Pole Fitness Studio’s in Las Vegas,
through my DVDs and now in Las Vegas every year in September The Pole Expo – the world’s
largest gathering of fitness enthusiasts who are passionate about pole dancing and aerial arts.
The Beginner Handstand
This is a “starter” move that eventually develops into my signature move, “The Handstand.” The
purpose of this move is to build strength in your arms and shoulders, as well as build the balance
and stability for doing a handstand on the pole, which can take months or years to perfect.
- Stand facing the pole. If you’re right-handed, you will most likely prefer to have your right hand high on the pole just below your head with a neutral grip. There are people who perform this move as a lefty. Either way, your dominant hand should be placed the highest on the pole.
- If you’re right-handed, your left hand should grab the pole, wrist up, somewhere between your thighs and knees, with your arm slightly bent. At this point you should notice that there is an open area to the right.
- To leave the ground, use the momentum from your right leg. Let it swing forward and then
back. Your right leg will be the first to leave the ground and the last to come down. - Your left leg will quickly follow. At the height of this move, your legs will be bent in 90-degree angles at your knees with your toes pointed, and your torso will be parallel to the floor or slightly turned to the side.
TIPS: In order for your legs to come up, you will have to lower your upper body. This may take several tries to get used to, but I can assure you that after doing this move several times you will have a better feel for it.
Remember to point your toes, especially your right foot, and maintain eye contact with the base of
the pole.
Once you are comfortable with the beginner handstand, challenge yourself by trying “The
Handstand” on the pole.
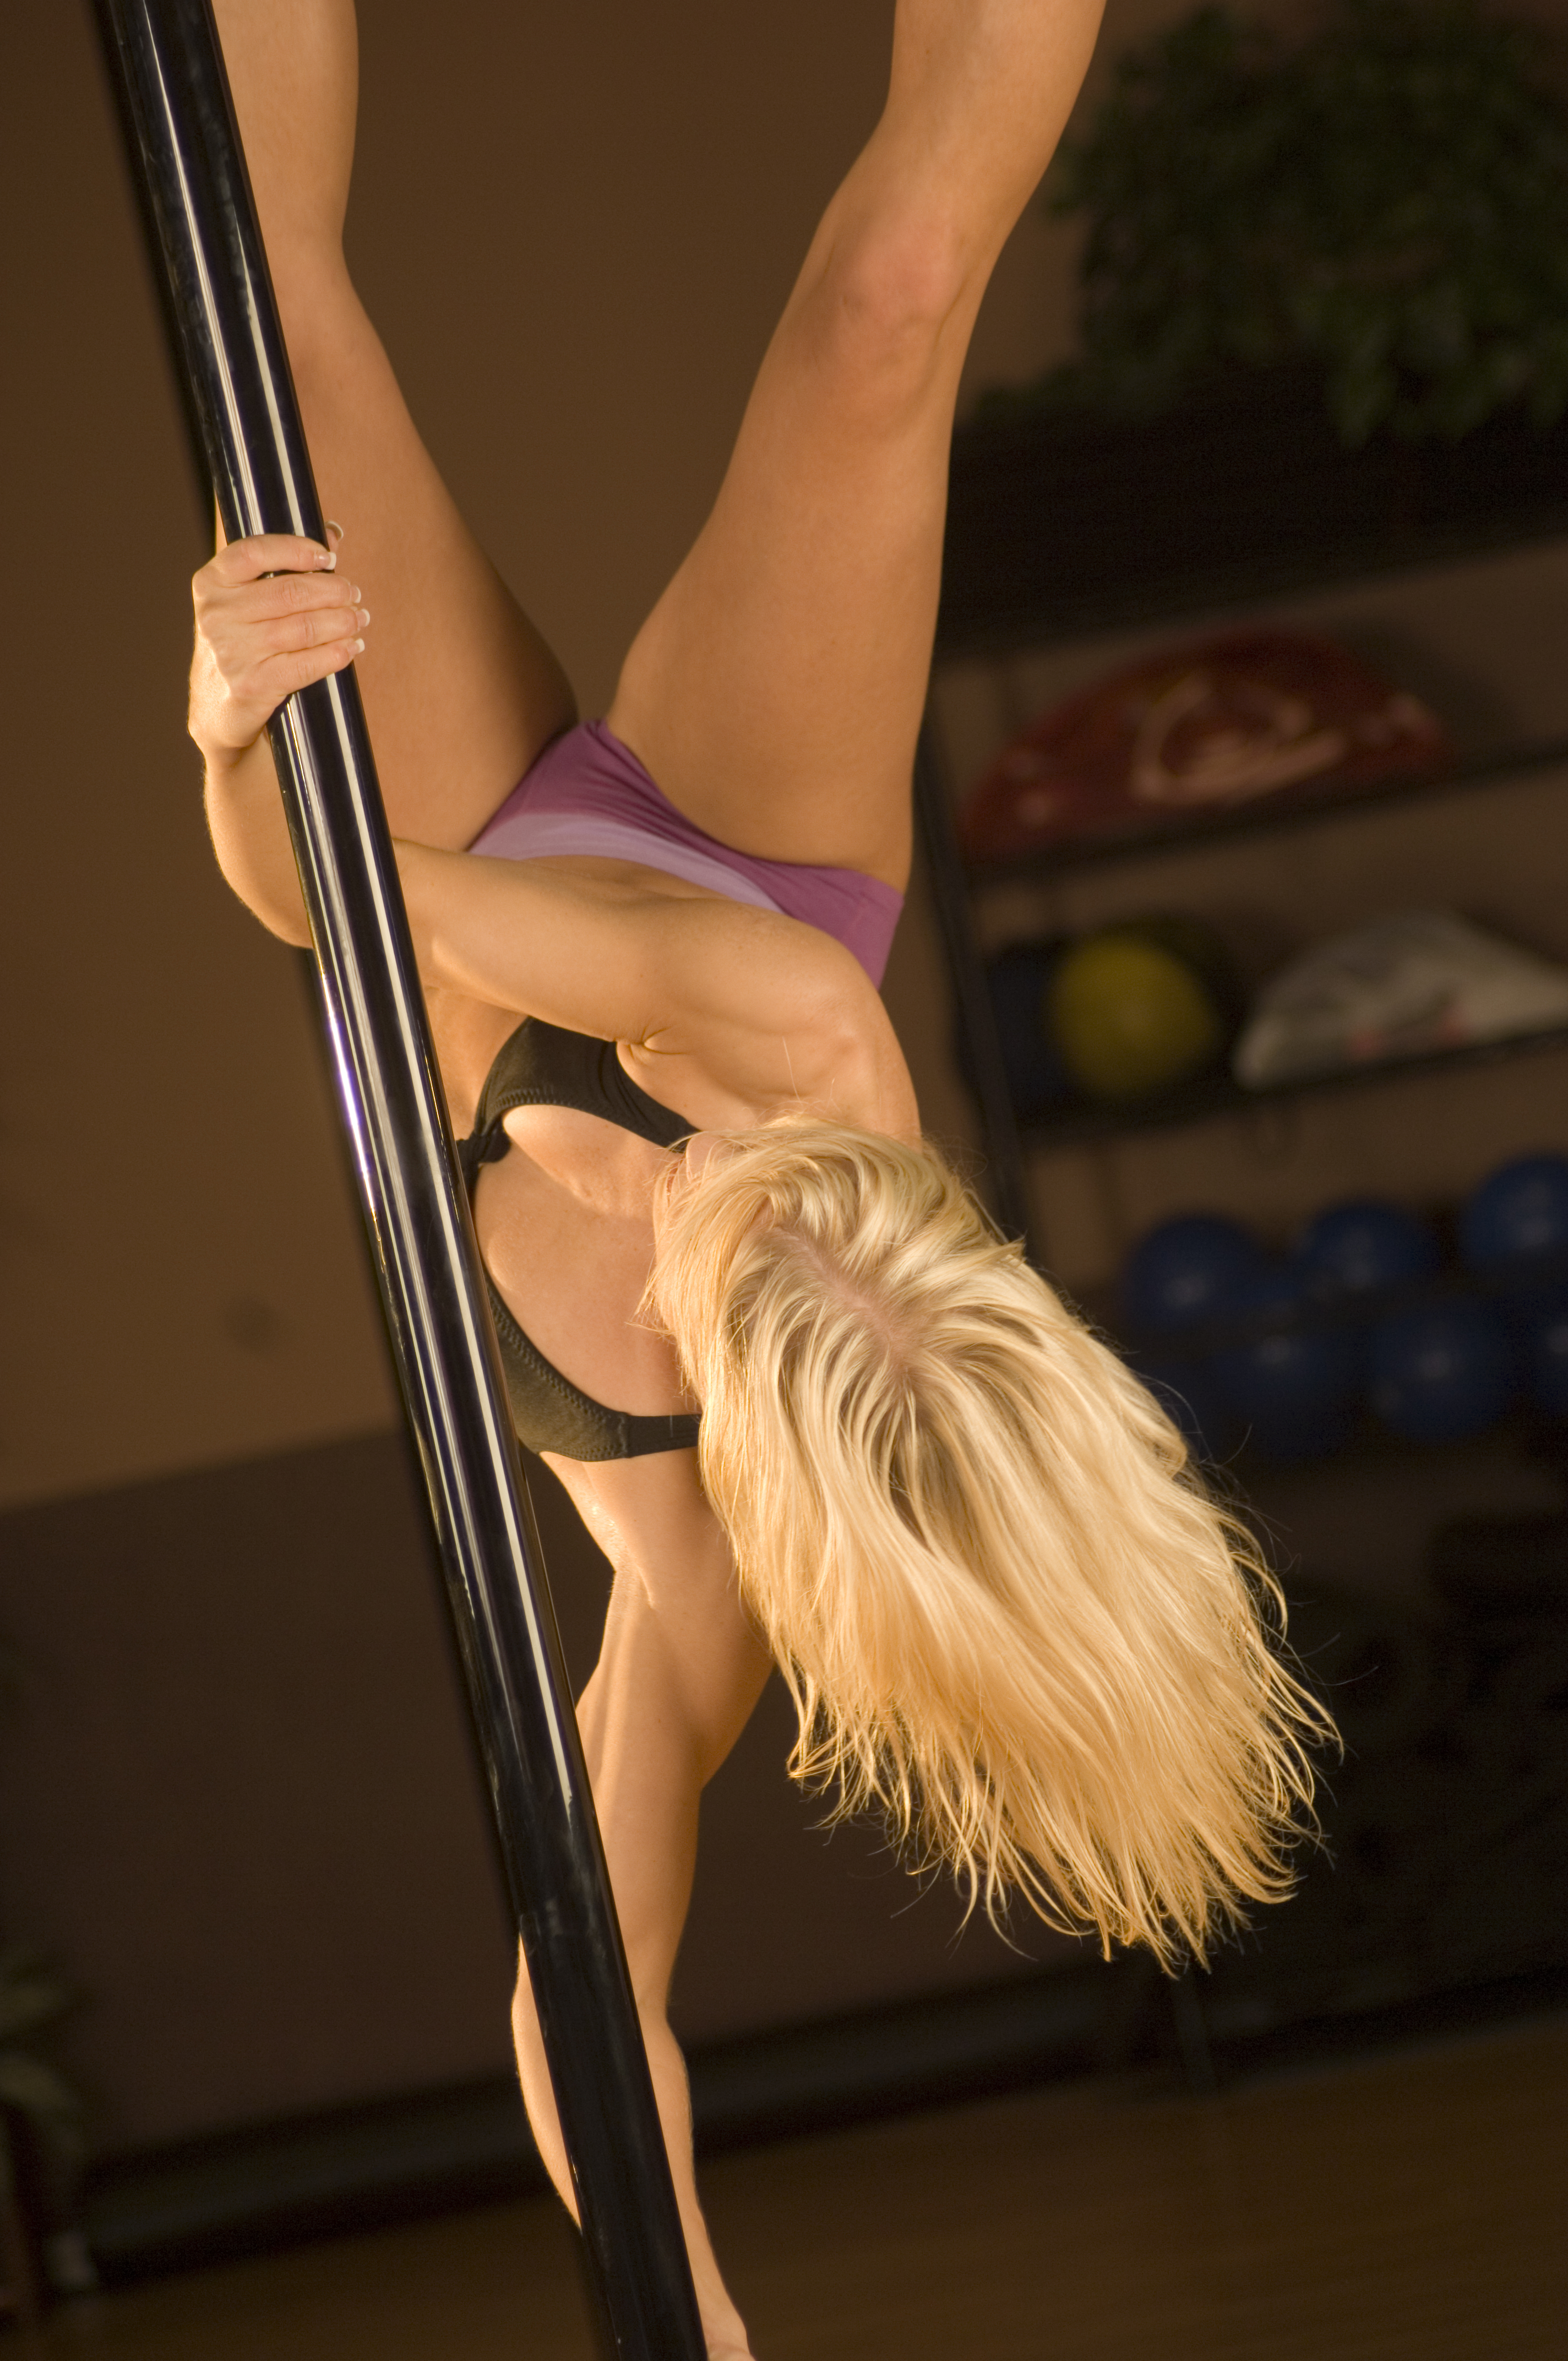
The Handstand
- Start the upside-down handstand with the beginner handstand. Keep your legs bent until your body is at about 45 degrees with the pole, at which point you will thrust your hips forward so that your body is parallel to the pole.
- Straighten both legs.
- Move your head so that you are looking at the top of the pole, which is where you want to see your legs. (Steps 2 and 3 happen simultaneously). Your right arm should maintain a 90- degree
angle. - When you are ready to come down, make sure to lead with your tummy. To do this, keep your
weight forward. Also, move your head so that you are looking at where you want to land on the
floor.
TIPS: When you are at this stage, there is a greater chance of injury. If you feel that you are losing your balance, make sure to fall like a cat (feet and tummy first). Don’t arch your back as it may cause injury.
Your shoulders will act as your hips during some pole moves, as they will be supporting your weight. Let your biceps, triceps, oblique’s and transverse abdominals do the work.